Drawing a hoodie might look tricky at first, but with a little guidance and practice, you can master it in no time! Whether you’re sketching a casual character or designing streetwear fashion, learning how to draw a hoodie helps you add realistic, stylish details to your art. In this step-by-step tutorial, we’ll walk you through everything from basic shapes to folds and shading — perfect for beginners and budding illustrators alike.
Drawing a hoodie doesn’t have to be complicated — with the right steps, anyone can do it. In this guide, you’ll learn how to draw a hoodie from simple shapes to realistic folds, shading, and stylish details. Whether you’re sketching for fashion design, character art, or just for fun, these beginner-friendly tips will help you create hoodies that look professional and full of personality.
Tools You’ll Need to Draw a Hoodie
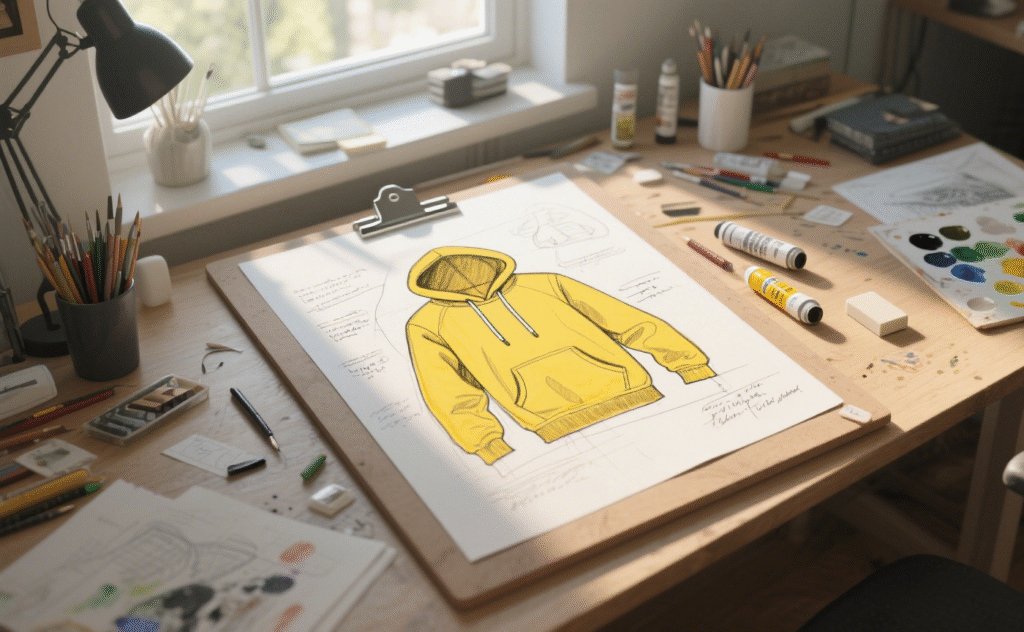
No matter your drawing skills are good or bad. No matter you are a professional fashion designer or not. Take your hoodie design ideas and paint them on paper. This process is really great.
Before we begin, gather the basic tools to make your drawing smooth and enjoyable:
- Pencils (HB for sketching, 2B+ for shading)
- Eraser (kneaded or regular)
- Sketchbook or blank drawing paper (preferably smooth-surface for clean lines)
- Fineliners or ink pens (optional for clean outlines)
- Digital drawing tablet (for digital artists)
- Ruler (if you prefer precise symmetry)
💡 Tip: Start with light pencil strokes. You can always darken them later!
Step-by-Step Guide to Drawing a Hoodie
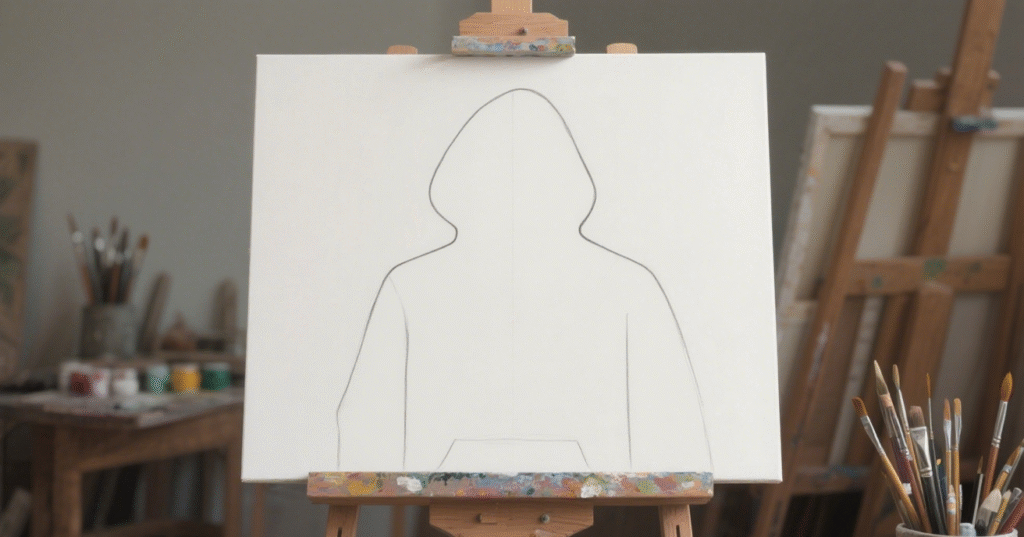
Step 1: Sketch the Basic Torso Shape
Start by drawing a simple outline of the upper body. Think of this as the “mannequin” your hoodie will go on. Use light shapes like a long oval or rectangle to represent the torso and a small circle for the head. Keep the shoulders slightly rounded and the waist narrower to mimic natural body proportions.
- Draw an oval or circle where the head would be.
- Add a rectangle or trapezoid shape underneath it to represent the hoodie’s body.
- Sketch the shoulders using curved lines sloping down slightly.
Tip: Keep your lines light—you’ll erase these later.
Step 2: Draw the Neck Opening and Collar
At the base of the head, sketch a U-shaped or V-shaped neckline. This is where the hoodie starts. Add a slightly raised edge to form the collar, giving it that thick, layered hoodie look.
Step 3: Outline the Hoodie Hood
Now draw the hood draping down the back or sides of the head. It should have volume — imagine how fabric naturally folds when hanging. Reference a real hoodie or mirror for hood depth and thickness!
From the head oval, draw two curved lines going up and around the back, forming the outer hood. Add a second, smaller line inside to show the thickness of the fabric.
- For a back-hanging hood: draw two curves from the neckline that widen outward and then curve back in.
- For a hood over the head: follow the head shape but add space for thickness and folds.
Step 4: Draw the Body and Sleeves
- Draw the torso with soft, slightly curved sides—hoodies tend to look a bit bulky.
- Extend two lines down from each shoulder to start forming the sleeves.
- At the bottom of the sleeves, draw a ribbed cuff. Use vertical lines for texture.
- Add the waistband using the same ribbed texture, slightly tighter than the body.
Hoodie sleeves are usually loose and long. From each shoulder, draw a slightly curved line downward, ending around the waist or lower. Add natural folds near the elbows and wrists to show the hoodie’s soft, baggy fabric.

Step 5: Add the Pocket and Hemline
Most hoodies feature a front “kangaroo pocket.” This can be done by drawing a wide rectangle with rounded bottom corners, and a slight horizontal line in the middle for the opening.
Then add the bottom hemline with a horizontal band across the base of the hoodie. You can thicken the hem slightly to show elasticity.
Step 6: Include Drawstrings, Seams, and Stitching
Draw two thin vertical lines from the hood’s front edge—these are the drawstrings. Add small ovals or rectangles at the ends to represent aglets.
Include stitching lines along the shoulders, sleeves, and sides of the hood. You can also add a zipper or brand logo if you’re going for a more customized look.
Adding stitching details can make your hoodie look more realistic and professional.
common hoodie details:
- Ribbed cuffs and waistband
- Zipper (if it’s a zip-up hoodie)
- Stitch lines along the sleeves and hood
Step 7: Outline and Clean Up Your Drawing
- Go over your final lines with a fineliner or darker pencil.
- Erase all unnecessary sketch lines gently.
- Make sure your lines flow and that curves around the hood and sleeves look natural.
Trace over your sketch with a fine liner or darker pencil. Erase the base guidelines to clean up your drawing. You should now have a clear, defined hoodie sketch.
Step 8 (Optional): Shade or Color the Hoodie
If you’re happy with your sketch, go over your lines with a fineliner or digital brush. Once the ink is dry (if using traditional tools), erase any pencil guidelines.
Add light shading under the arms, folds at the elbows, and gentle shadows around the hood to create depth.
Soft shadows and texture lines can enhance the hoodie’s natural fabric look.
- Lightly shade under the hood, around the sleeves, and where fabric folds.
- Shade inside the pocket, below the arms, and behind the drawstrings.
- If coloring, choose muted tones (gray, black, navy) or get creative with patterns and logos.
Pro tip: Use a blending stump or tissue for soft shadows if you’re working with pencil.
Common Hoodie Drawing Styles
When it comes to drawing a hoodie, you’re not limited to a single style. Hoodies are versatile garments, and depending on the look and feel you want to convey, you can draw them in many different ways.
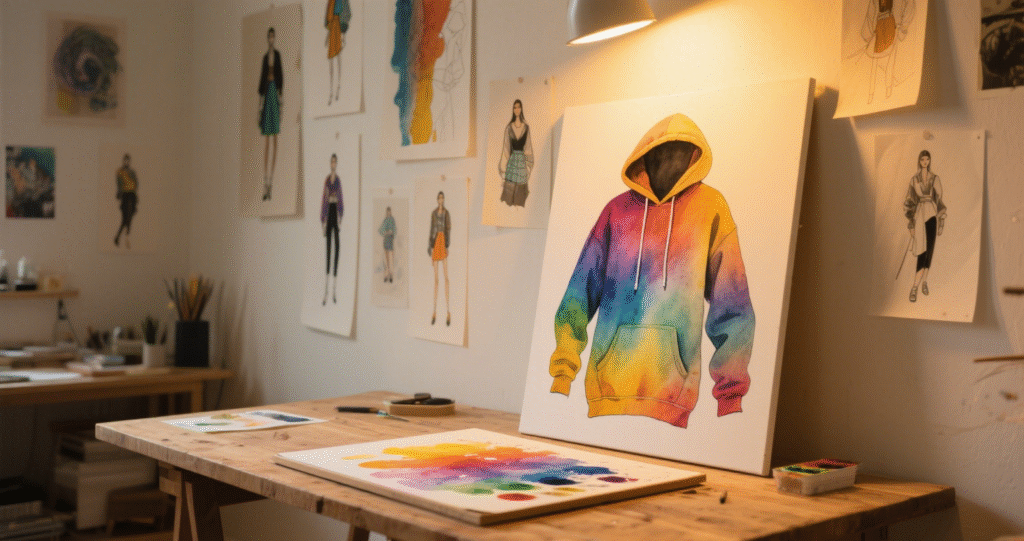
You can draw fashion illustrations, design personal brand hoodies, or try different artistic techniques.
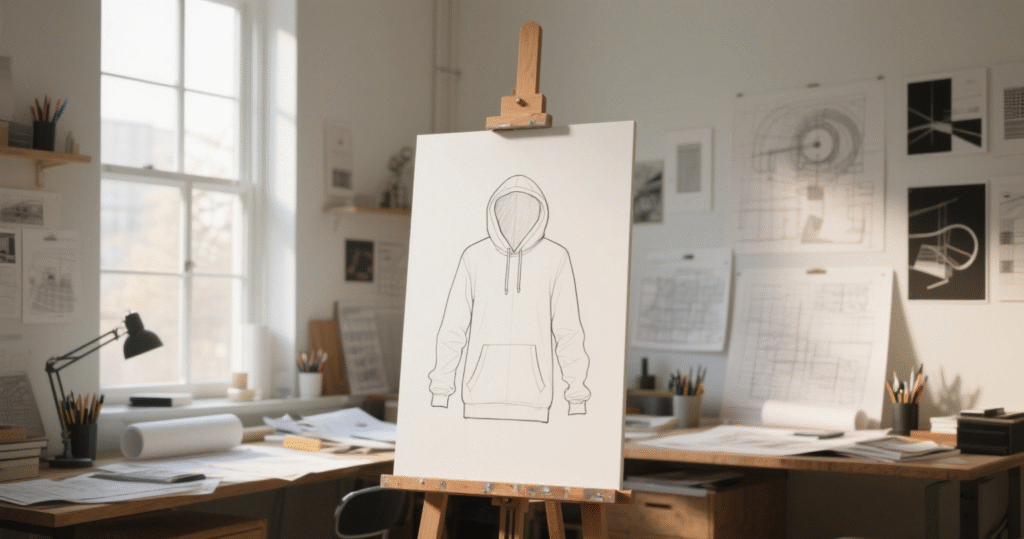
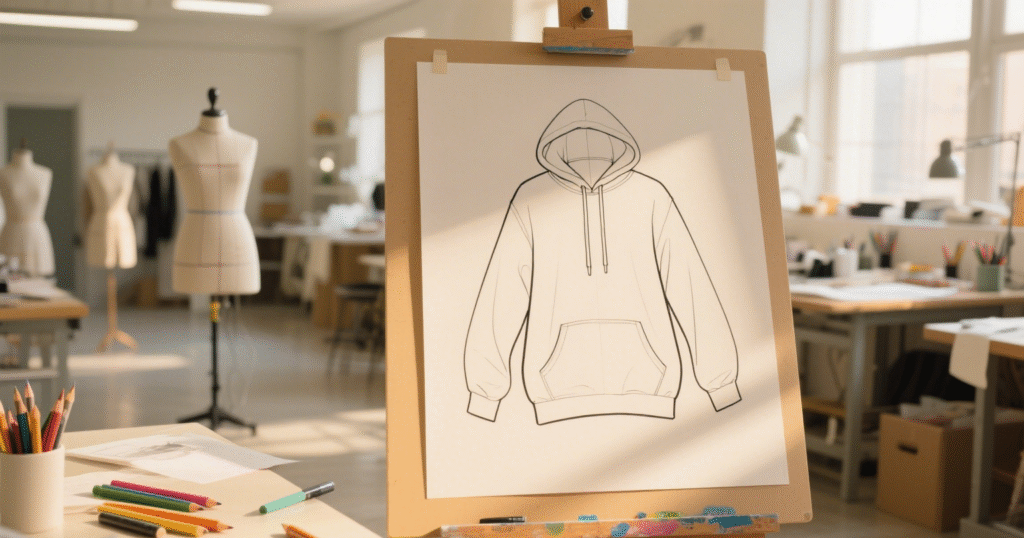
Classic Hoodie (Front-Facing)
One of the most common and easy-to-draw hoodie styles is the front-facing hoodie. In this style, the hoodie is drawn as if it’s directly facing the viewer, giving a simple but effective depiction of its shape.
Key Features:
- Straightforward torso and sleeve shapes
- Clear outline of the hoodie’s body and hood
- Typically worn by a character or as a flat garment (on a model or mannequin)
Dynamic Character Hoodie
Drawing a hoodie on a character can be a fun and creative way to bring your art to life. In this style, the hoodie isn’t just a flat piece of clothing—it wraps around a figure and interacts with their movements.
Key Features:
- Focus on how the hoodie fits the body, particularly around the shoulders and waist
- Fabric folds around joints, elbows, and the waist to show movement
- A more detailed design with pockets, drawstrings, and stitching
Hanging Hoodie (On a Hook or Hanger)
A hanging hoodie style is great for those interested in drawing the hoodie as a standalone item. This style is often used in product design sketches or when showing a hoodie in a more casual, laid-back way.
Key Features:
- The hoodie appears to be draped or hanging from a hook or hanger
- Emphasis on fabric flow and how the hoodie naturally falls due to gravity
- Clean lines with fewer details compared to a character wearing it
Anime or Cartoon Hoodie
If you enjoy stylized art, drawing a hoodie in anime or cartoon style allows for exaggerated proportions and features. This approach is perfect for creating a more playful or expressive vibe.
Key Features:
- Larger, more exaggerated hoods and pockets
- Simplified body proportions with emphasis on the hoodie’s design
- Bright, bold outlines with minimal detail on fabric texture
Streetwear Hoodie
For fans of urban or street fashion, drawing a streetwear-style hoodie can be an exciting challenge. Streetwear hoodies often have bold designs, graphic logos, and unique details that make them stand out.
Key Features:
- Graphic prints, logos, or bold statements on the hoodie
- Casual fit with details like wide sleeves or oversized hoods
- Popular among youth culture and street fashion styles

Tips for Drawing Different Hoodie Styles
There are many different hoodie styles, each with its own unique silhouette and design details. Drawing different hoodie styles can help you build a diverse portfolio. Find the most suitable style to match your design ideas. Get the best hoodie.
Pullover Hoodie
A pullover hoodie is the classic hoodie style—without any zippers. It’s simple yet stylish, with a soft, relaxed look.
Key Features to Note:
- No zipper: The front is a solid, continuous piece of fabric.
- Large front pocket: Typically, there is a single large front pocket called a “kangaroo pocket.”
- No separation at the chest: Unlike a zip-up hoodie, the chest area will be one continuous curve without a seam splitting it.
- Simple hood: The hood often has a more rounded, snug look that drapes naturally over the head.
Zip-up Hoodie
A zip-up hoodie features a full-length zipper that opens the front of the hoodie. This style is perfect for adding a touch of versatility and detail to your designs.
Key Features to Note:
- Zipper: The front of the hoodie has a zipper, which divides the chest into two sections.
- Separate pockets: Zip-up hoodies often have two smaller pockets, one on each side of the zipper.
- Collar: The collar area around the zipper may appear slightly stiffer and stand up more compared to a pullover hoodie.
Oversized Hoodie
An oversized hoodie has become a trendy streetwear style, known for its baggy fit and relaxed vibe. These are often worn with a carefree attitude and provide a lot of freedom for artistic expression.
Key Features to Note:
- Extra volume: The hoodie’s fabric is looser and extends past the waist and often covers the hips.
- Dropped shoulders: The shoulders of an oversized hoodie tend to fall lower than a regular hoodie.
- Longer sleeves: The sleeves usually cover part of the hands, creating a dramatic effect.
Crop Hoodie
A crop hoodie is a fun, youthful style that cuts off at or above the waist. It’s a trendy choice for casual wear and is great for showing off your art skills in depicting short, cropped styles.
Key Features to Note:
- Shorter length: The body of the hoodie is cropped, often showing some skin or a high-waisted look.
- Fitted: Unlike other loose styles, crop hoodies can be more form-fitting around the torso.
- Tighter cuffs: The sleeves may be fitted or slightly loose but typically end in tighter cuffs.
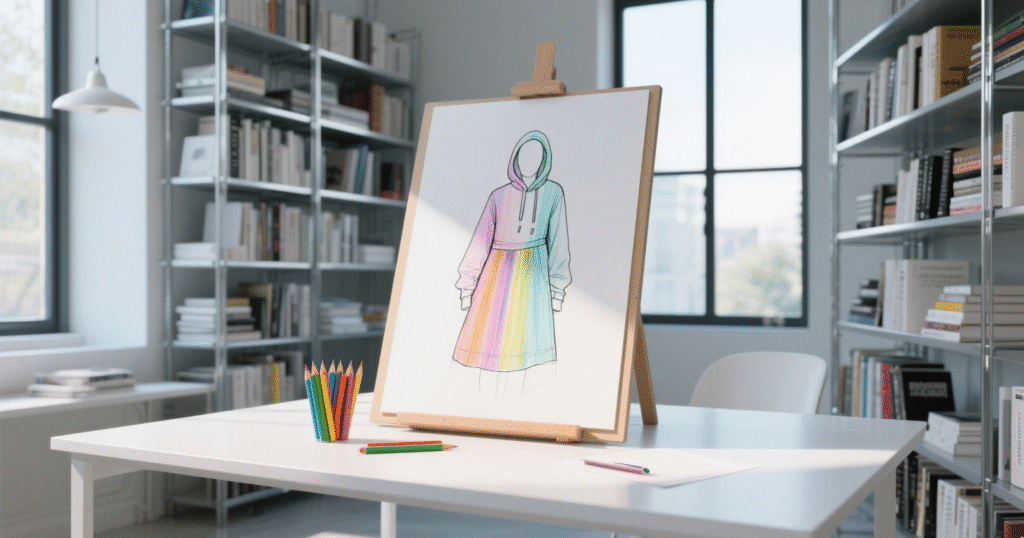
Hoodie Dress
The hoodie dress combines the cozy comfort of a hoodie with a longer, dress-length body. It’s a modern, chic style that’s comfortable yet fashionable.
Key Features to Note:
- Long length: The hoodie dress typically extends past the waist and hits at the thighs or knees.
- Oversized look: Similar to the oversized hoodie, it features a relaxed, loose fit.
- Sweater fabric: Hoodie dresses are often made from knit fabrics that drape beautifully.
Streetwear Hoodie
For fans of urban or street fashion, drawing a streetwear-style hoodie can be an exciting challenge. Streetwear hoodies often have bold designs, graphic logos, and unique details that make them stand out.
Key Features:
- Graphic prints, logos, or bold statements on the hoodie
- Casual fit with details like wide sleeves or oversized hoods
- Popular among youth culture and street fashion styles

Practice Tips for Beginners
- Use photo references of real hoodies or fashion sketches
- Try drawing hoodies in different positions: folded arms, hands in pocket, hood up
- Start with simple poses and gradually add details like logos, zippers, or layers
The more you practice, the more natural your hoodie sketches will look.
There are many other techniques for drawing hoodies. Knowing how to Style a hoodies can help you draw more attractive hoodies. Know the weight of different styles of hoodies. When drawing, you can use shadows and lines to make the hoodie more vivid.
If you want to know more about hoodies. You can always contact Sumkclothing. They have a team of clothing designers. Very experienced in drawing hoodies. Professional custom hoodie service can turn your ideas into reality. Low price and low minimum order quantity are very suitable for every independent designer and start-up brand.
Common Mistakes to Avoid
Avoid these beginner traps:
- Stiff sleeves. Hoodies are loose and flexible; draw sleeves with a slight curve.
- Flat hoods. A hood should have depth—use overlapping lines to suggest layers.
- Misplaced drawstrings. Make sure they come from inside the hood, not from the neck.
- Over-shading. Don’t overdo shadows—keep it light to maintain soft fabric texture.
- Forgetting to follow the body’s form underneath
- Adding too many or stiff-looking folds
- Skipping important features: Don’t forget cuffs, seams, or pockets — they define the hoodie!
Frequently Asked Questions (FAQ)
To make a hoodie for beginners, follow these steps:
Choose Fabric: Soft fabrics like cotton fleece work best.
Take Measurements: Measure your chest, waist, and length.
Create the Pattern: Use a hoodie pattern or make your own.
Cut the Fabric: Cut the front, back, sleeves, and hood.
Sew the Pieces: Stitch the shoulders, side seams, sleeves, and hood.
Finish: Add cuffs, hems, and a drawstring (optional).
This simple guide will help you create your first hoodie!
To draw on hoodies, use:
Fabric Markers: Best for fine details.
Acrylic Paint: Combine with fabric medium for durability.
Heat Transfer Vinyl (HTV): For custom designs with an iron.
Screen Printing: Ideal for multiple prints.
Embroidery Thread: For textured, stitched designs.
Choose the material based on your design style!
Here’s how to fold a hoodie neatly:
Lay Flat: Place the hoodie face down.
Fold Sleeves: Fold each sleeve toward the center.
Fold in Half: Fold the hoodie vertically from bottom to top.
Final Fold: Fold into thirds for compact storage.
This method saves space and keeps your hoodie wrinkle-free.
To draw an anime hoodie for a male character:
Outline the Body: Draw the basic anime character shape.
Sketch the Hoodie: Draw the hoodie with loose fit and slouchy shoulders.
Add the Hood: Draw the hood hanging behind the neck.
Details: Add drawstrings, cuffs, and fabric folds.
Final Touches: Shade and color to bring your design to life.
These steps create a dynamic, anime-inspired hoodie!